Bitaxe SupportSetting Up Your Bitaxe
A comprehensive guide to setting up and using your Bitaxe miner
NEW WITH INITIAL SETUP V2
Starting with the introduction of Initial Setup V2, Setup has been simplified for new users. Advanced setup can still be completed in the "settings" tab, or in the AxeOS Web UI.
INITIAL SETUP SCREEN
It only takes 3 easy steps to start mining with the Bitaxe Touch:
- Select Wifi
- Enter Wifi Password
- Enter BTC Payout Address
SETUP NETWORK
Network SSID
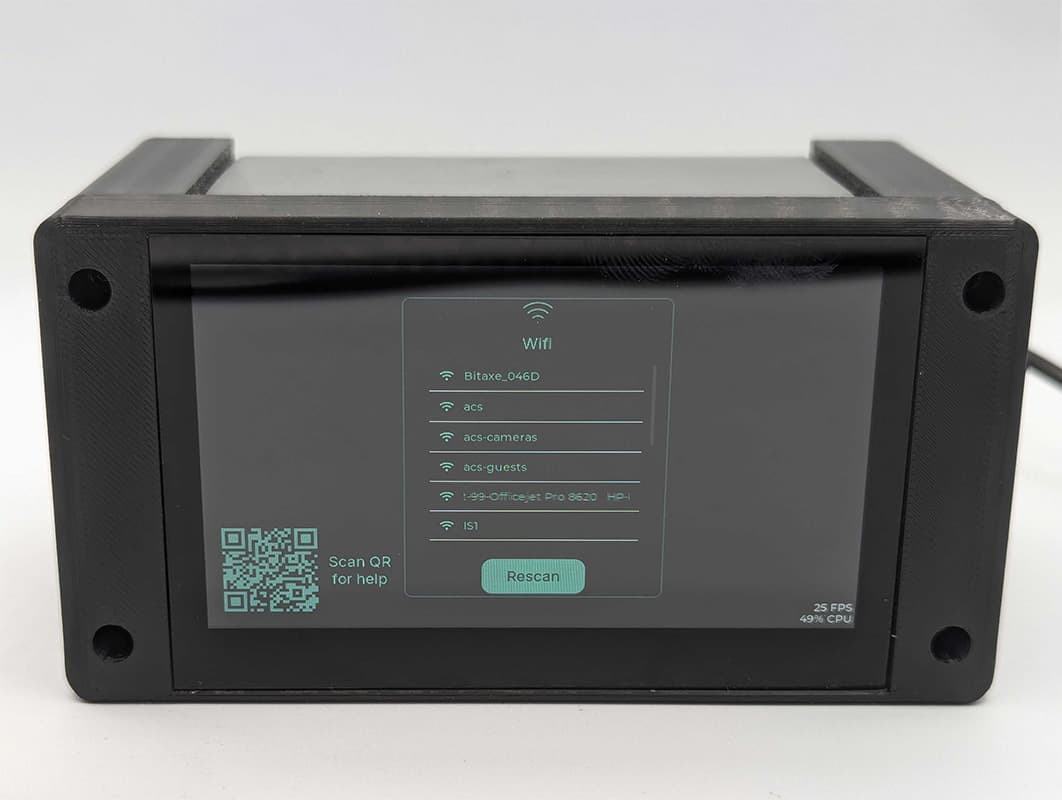
The Device will scan for local networks. The list of networks is scrollable, and is sorted by network strength.
TIPS AND TRICKS
WiFi name is not showing up on the list
Make sure your Network is compatible with 2.4GHz. The Bitaxe is not available with any other WiFi types, including 5Ghz.
Network Password
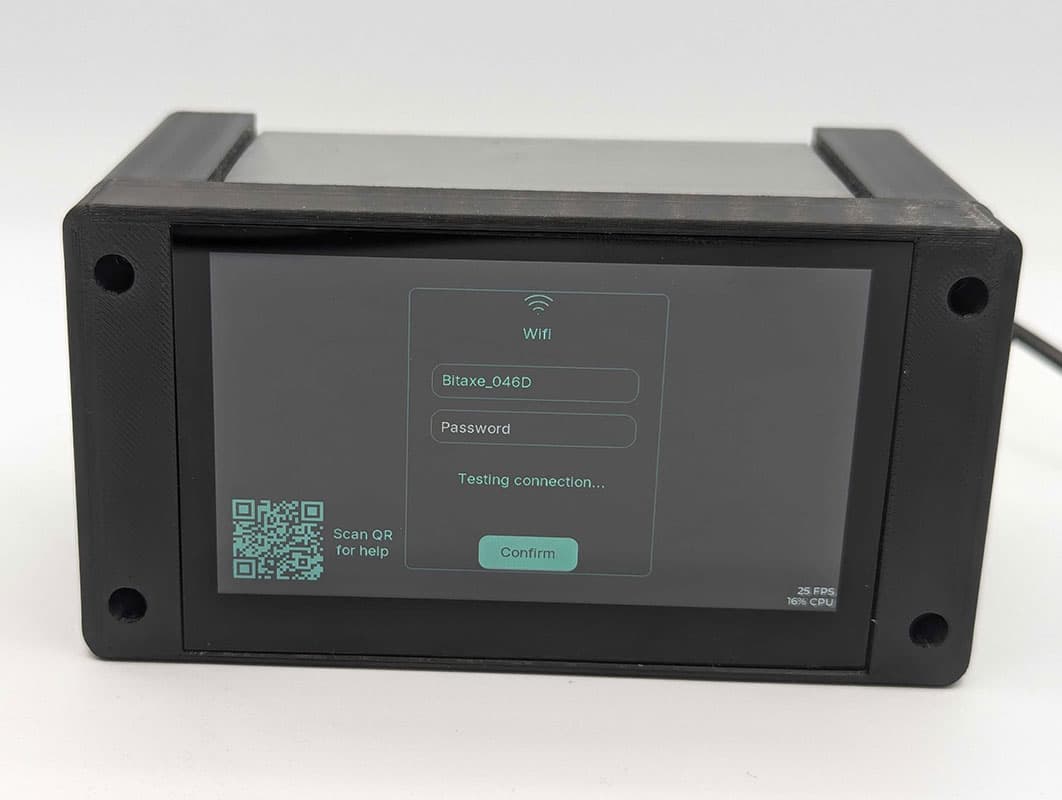
On this screen, type your password for your network. The Device will connect, and verify a connection before moving on to the next screen.
TIPS AND TRICKS
WiFi Name shows up in the list, but won't connect
Check your password for errors. Make sure there are no Spaces at the beginning or end of the password. Check for commonly replaced characters (0 vs O, 5 vs S, etc.). If this still doesn't connect, make sure your Bitaxe is not too far away from your WiFi access point, and free from obstructions and interference.
SETUP MINING POOL
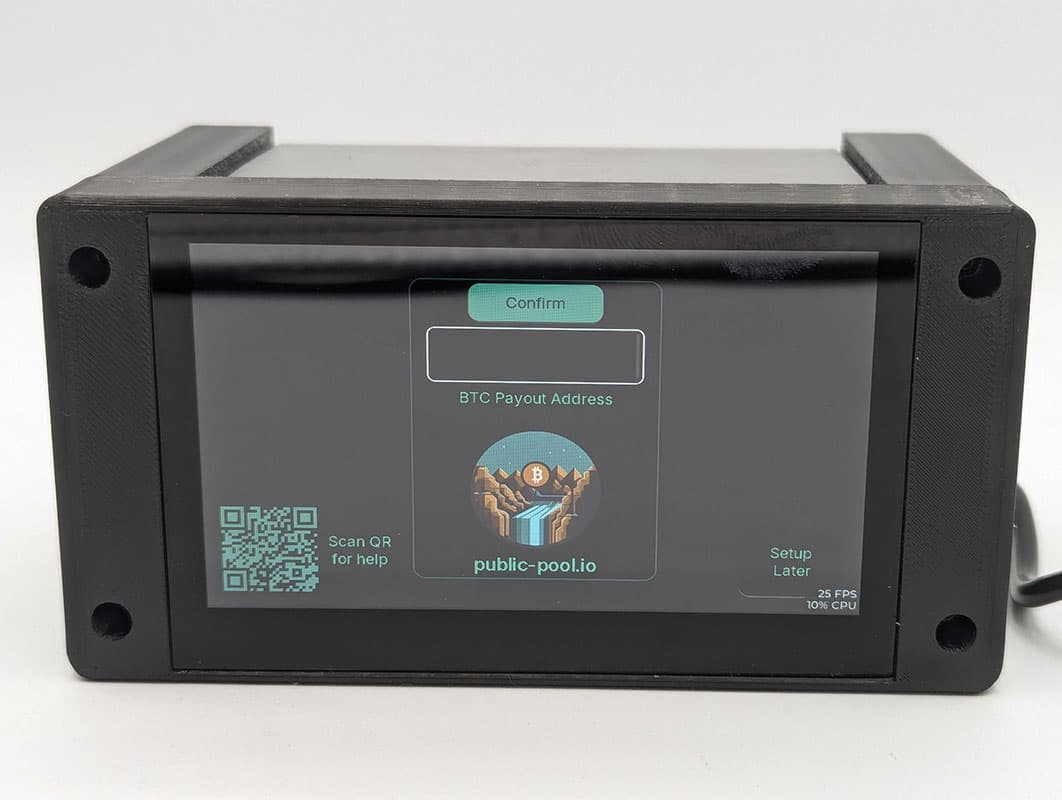
Mining Pool Configuration
- Public-Pool.io QuickStart Guide
- Out of the box, the Bitaxe Touch UI provides easy setup to public-pool.io. All you need to know is your BTC Payout Address. If your BTC address does not verify, check your address for errors and ensure there are no spaces. If your Internet connection is unstable, the Bitaxe will fail to receive the required response from the API server to verify the address is a valid Bitcoin Address.
BTC ADDRESS SETUP
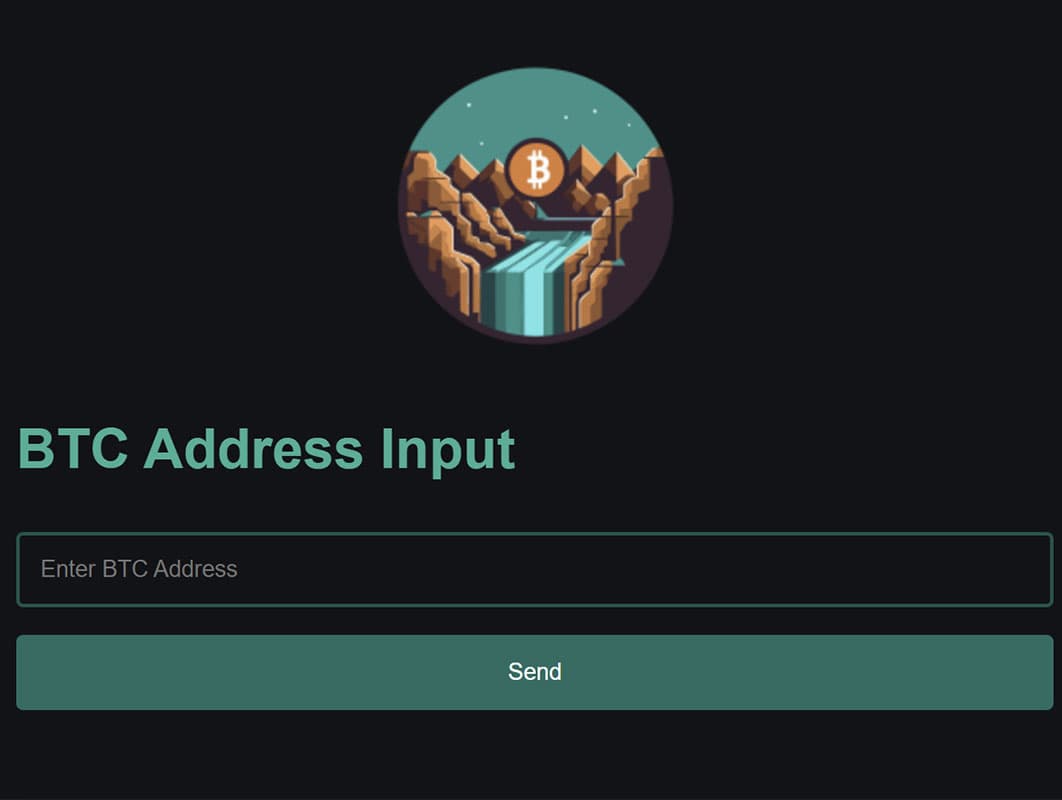
Bitcoin Address Configuration
- Setting up BTC Payout address from your phone
- During the setup of the Bitaxe, a QR code on the screen can be scanned to connect to the Bitaxe. In this screen, you can simply copy and paste your Preferred Bitcoin Payout Address.
BLOCKSTREAM SETUP
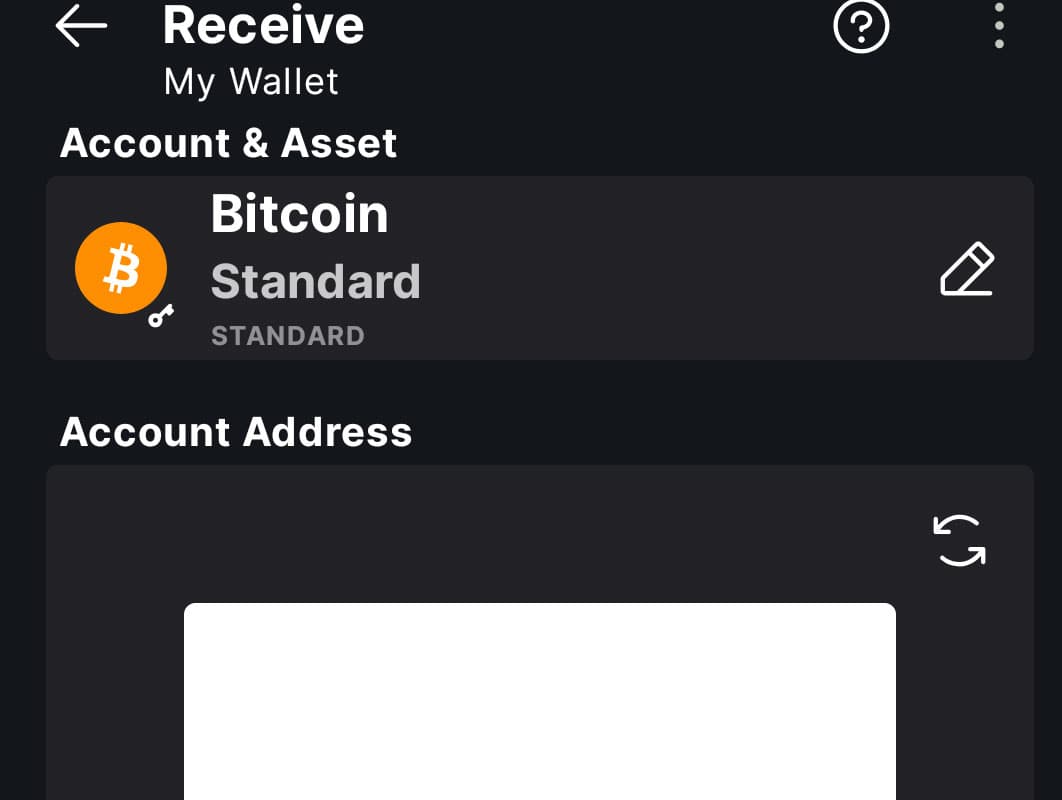
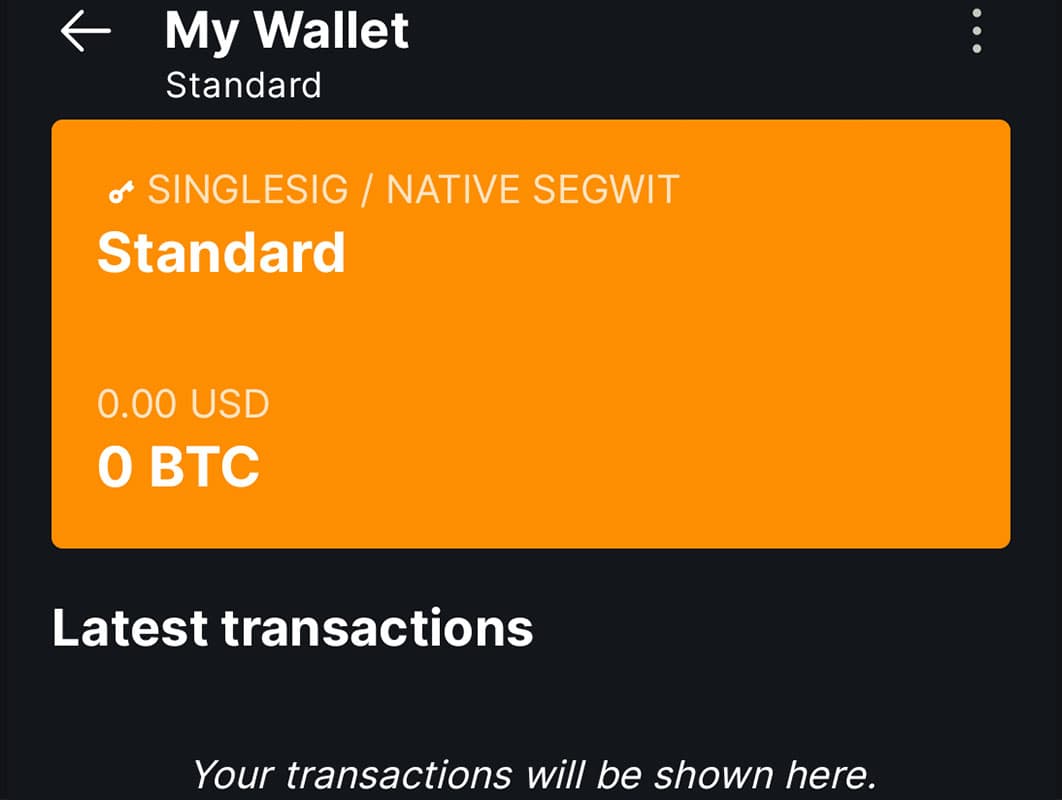
Blockstream Wallet Setup
- Getting your Bitcoin Payout Address from Blockstream Green
- 1. After Setting up your Wallet on the Blockstream Green App, click on 'My Wallet' and enter PIN 2. Click 'Receive' 3. Copy your Bitcoin Address
WEB UI SETUP
Advanced Web UI Setup
- Advanced Web UI Setup
- Advanced Setup can still be completed on the webUI by connecting to the Bitaxe IP Address. Note that this is a different IP than the one used for setting up the BTC Payout Address. The Bitaxe IP can be found on the 'Activity' Screen